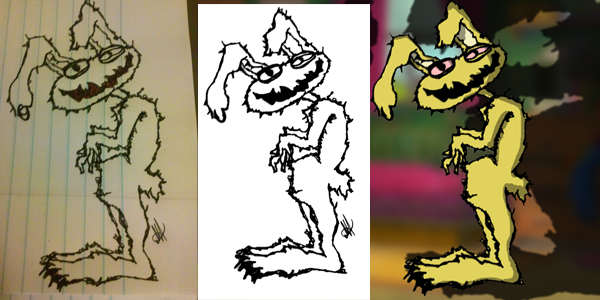
Step 1. Scan your artwork, or take a high quality photo.
Step 2. Open with Photoshop, I am using an older version (CS2) so that this tut is compatible with most versions of Photoshop.
Step 3. Convert your image to Greyscale. Image > Mode > Greyscale.
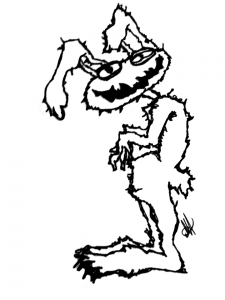
Step 4. Now you are going to want to ‘mess’ with the brightness and contrast. Try and get the whites whiter, and the blacks blacker!
Step 5. Take your eraser and clean up whatever the color adjustments didn’t already take care of.
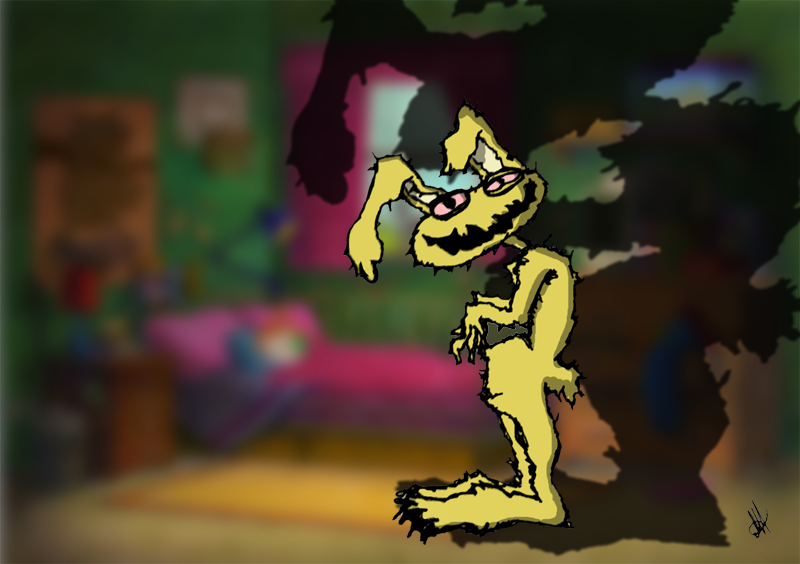
Step 6. Create a new layer.
Step 7. Color and add a background. Subscribe for more!


