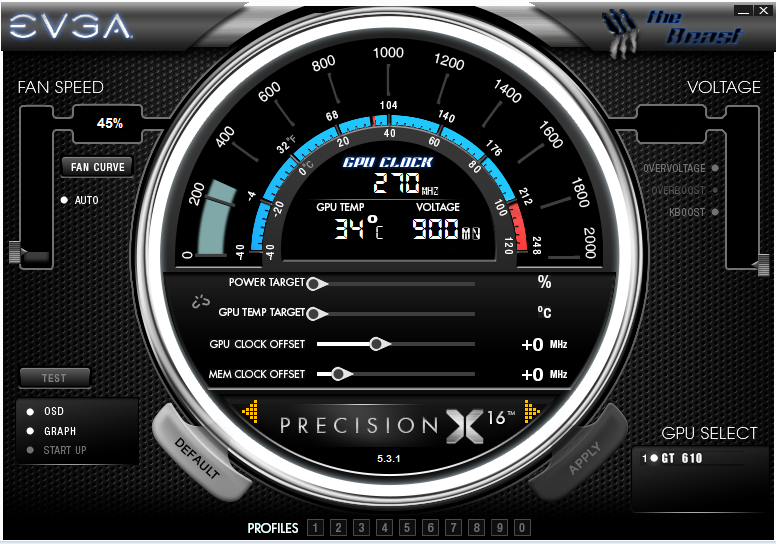
How to make a Precision X 16 custom skin. UXF Tool Tutorial.
- If you do not have the newest version (I’m using 5.3.1 at the time of writing this article) of Precision X 16 I recommend downloading it here.
- You will need the EVGA UXF Tool. It comes with the newest version of PrecisionX. If you followed step 1, then you should have it installed already.
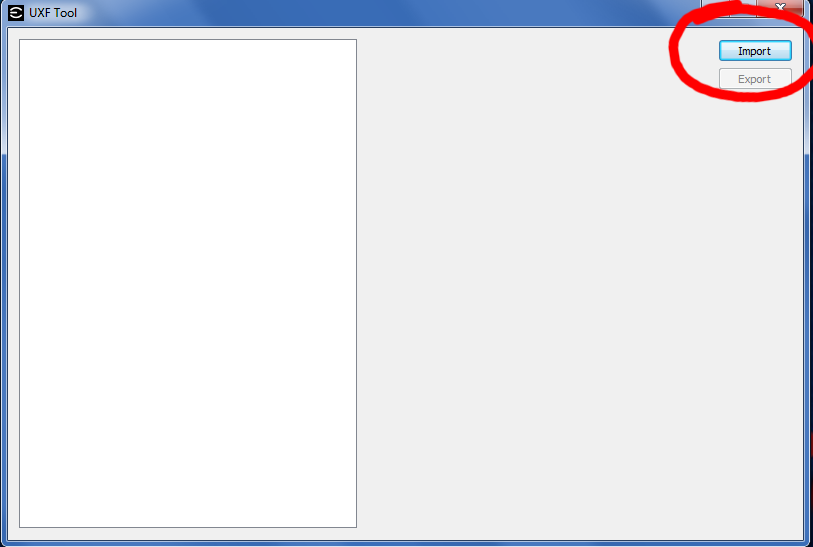
- Open the EVGA UXF Tool. Click ‘Import’. Default skins are located at
C:\Program Files (x86)\EVGA\PrecisionX 16\Skins. Find defaultX.uxf and open it. In the link above the EVGA Product Manager states that the password to open the file is “jsRfsgTd5” but for me this did not work. It seems that leaving the password field blank, and just clicking ‘ok’ works. Now click ‘Export’ and save this as whatever you want your skin to be named. I’m calling mine beastX.uxf. - After you import the UXF, a folder with the same name as your UXF will be created containing all of the default images. Mine looks like:
C:\Program Files (x86)\EVGA\PrecisionX 16\Skins\beastX. - Using an image editor such as Photoshop, you can edit these graphics, and overwrite the originals. If you have trouble with this step, try saving the bmp to your desktop, then copy/replace it from your desktop into your skin folder.
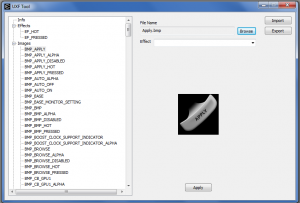
- In the UXF Tool, select the graphic from the left menu, and in the “File Name” attribute, click browse and open the correlating graphic you created from your folder
C:\Program Files (x86)\EVGA\PrecisionX 16\Skins\beastXand click “Apply”. - In the menu on the left, select “info” and rename your skin. This can be whatever you like. This is the name that will show up in the dropdown menu within Precision X.
- Now export the uxf file again.
- Open Precision X, click the right arrow until you come across the “settings” panel, and select “profile” from the list. Click the right arrow again until you reach “Interface 1/2” and in the “Select Skin” dropdown, find your skin and select it, then hit ‘OK’. Precision X should reload with your skin!
- Make a sweet skin that you would like to share with the rest of us? Leave a link in the comments!
Note: Make sure you back up your skin folder! If you import your uxf file into the ufx Tool again, it may revert your folder to default images. I’m not sure if this is a bug or a “feature”, but it is a pain in the neck and I hope they change that. Keep in mind this is the first version, so there is likely to be more bugs that I haven’t yet noticed.


