How do I create a custom WP page?
I get this question a lot from clients using WP, and the WP forums are full of misinformation and dead-ends, so even though this tutorial exists in many different forms, I figured it wouldn’t hurt to have another up-to-date and accurate tutorial about how to create a custom WordPress page with custom html floating out there.
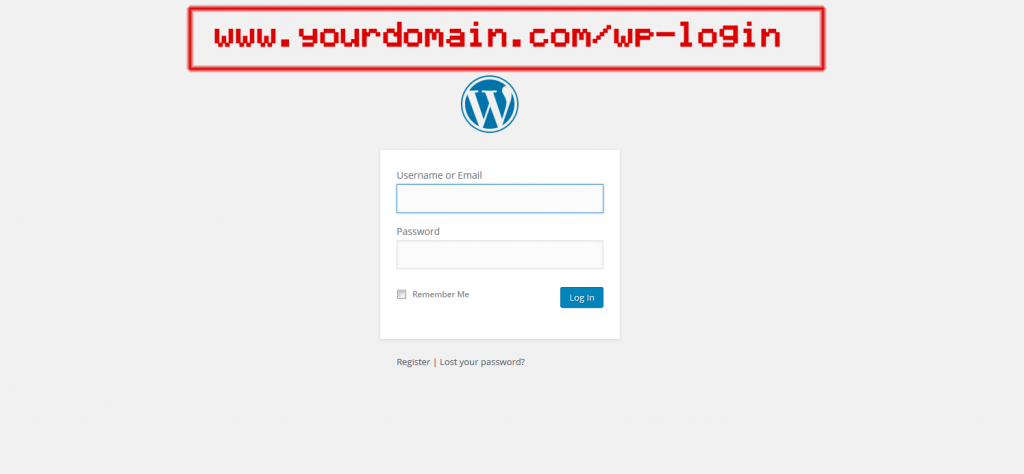
This is a pretty simple and straight forward process, though this tutorial assumes that you have minimal knowledge with WordPress and we’ll go through every step in detail. First thing you’ll want to do is login to your WP page.

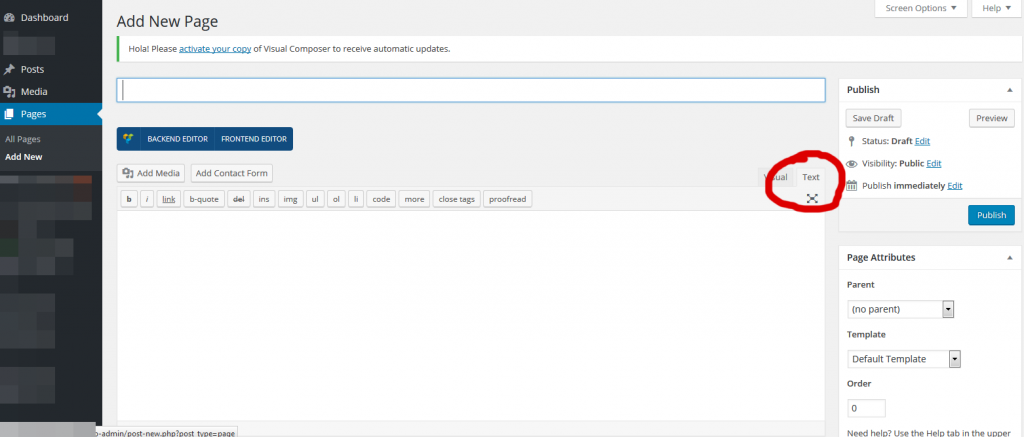
After logging in to WordPress with your admin information, go to your WordPress Dashboard. From the menu on the left (for most themes) select Pages > Add New.
At the very top of the page you will see a field for the page title. Name this something relevant, it will be what users see if they bookmark your site to view it later and depending on your settings, it will also dictate the pages URL. The next thing on the page you’ll notice is an editor. WP comes standard with what is known as a WYSIWYG editor. WYSIWYG is an acronym for “what you see is what you get” and using this is similar to using a rich text editor such as Microsoft Word or Adobe Acrobat. This will work great for most cases, but you may want to use custom HTML in order to have more control over the content on your page. Simply change the editor from the Default WYSIWYG editor, by selecting the “Text” tab next to the “Visual” tab (see img). From here you are free to enter custom HTML and even inline CSS and scripts!
Now enter your html code into the editor and when you are ready you will find publishing options on the right side (by default) in the “Publish” widget. From here you will have the option to save your draft in case it is not quite ready to be published publicly. You also have the option to preview your new page, which is always a good idea before you publish. And of course you can click “Publish” when you are ready for your page to go live!


