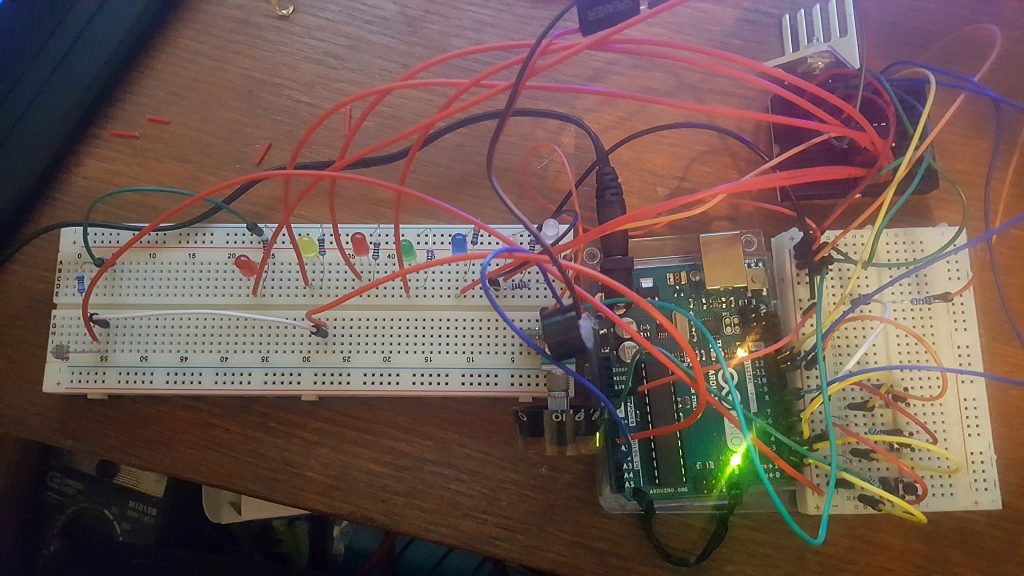
It’s day 7 of 12 Days of Arduino! On the seventh day of Arduino… We clean up the circuit for better access to controls and fill up those empty outputs on the shift register with LED’s for a true party in your pocket! Errr… Maybe that isn’t the best slogan for the Keyduino… Let’s get to it!
Project requires
–Arduino Uno
–Active buzzer
–3x button touch switch
-220 ohm resistor
-4x 10k ohm resistor
-8x 220 ohm resistor
-Jumper wires
-Tip120
-SN74HC595
-Photoresistor
-Potentiometer
-7x LED
//Pin connected to ST_CP of 74HC595

int latchPin = 8;

//Pin connected to SH_CP of 74HC595

int clockPin = 12;

////Pin connected to DS of 74HC595

int dataPin = 11;

 int number = 1;

 int speakerPin = 6;

 //Buttons

 int button1Pin = 2;

 int button2Pin = 3;

 int button3Pin = 4;

 int photoresistorPin = A0;

 int sensorValue = 0;

 int photoresistorSensitivity = 2;

void setup() {

  Serial.begin(9600);

  pinMode(latchPin, OUTPUT);

  pinMode(clockPin, OUTPUT);

  pinMode(dataPin, OUTPUT);

  pinMode(speakerPin, OUTPUT);

  pinMode(button1Pin, INPUT);

  pinMode(button2Pin, INPUT);

  pinMode(button3Pin, INPUT);

}
void loop() {
int potentiometerValue;
potentiometerValue = analogRead(1);
if(potentiometerValue < 10){
potentiometerValue = 10;
}
if(digitalRead(button1Pin) == HIGH){
sensorValue = analogRead(photoresistorPin);
tone(speakerPin, 790 +(sensorValue*photoresistorSensitivity));//A5
digitalWrite(latchPin, LOW);
// shift out the bits:
shiftOut(dataPin, clockPin, MSBFIRST, number);
digitalWrite(latchPin, HIGH);
delay(potentiometerValue);
number++;
}
else if(digitalRead(button2Pin) == HIGH){
sensorValue = analogRead(photoresistorPin);
tone(speakerPin, 1750 +(sensorValue*photoresistorSensitivity));//A6
digitalWrite(latchPin, LOW);
// shift out the bits:
shiftOut(dataPin, clockPin, MSBFIRST, number);
digitalWrite(latchPin, HIGH);
delay(potentiometerValue);
number++;
}
else if(digitalRead(button3Pin) == HIGH){
sensorValue = analogRead(photoresistorPin);
tone(speakerPin, 3510+(sensorValue*photoresistorSensitivity));//A7
digitalWrite(latchPin, LOW);
shiftOut(dataPin, clockPin, MSBFIRST, number);
digitalWrite(latchPin, HIGH);
delay(potentiometerValue);
number++;
}
else{
number = 0;
digitalWrite(latchPin, LOW);
// shift out the bits:
shiftOut(dataPin, clockPin, MSBFIRST, number);
digitalWrite(latchPin, HIGH);
delay(10);
}
}
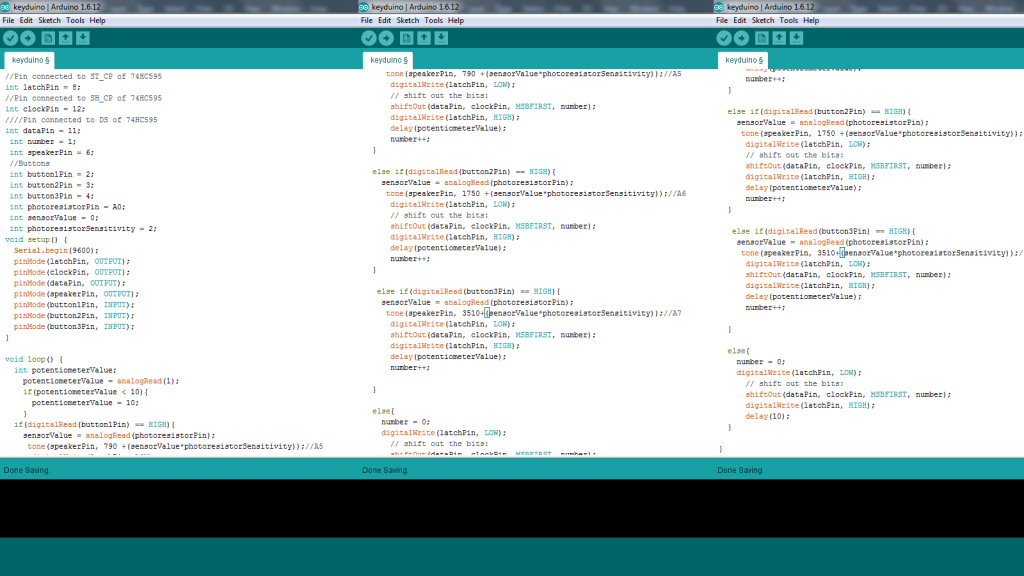
There isn't much difference in the code today, in fact yesterdays sketch works just fine with this circuit, but I made some minor improvements to the code, opening up the ability to easily control the sensitivity of the photoresistor's pitch bending FX.
I hope you all enjoyed the "Keyduino". I'm probably going to tear it down for parts tomorrow and get to the next project but it shall be immortalized here and on Youtube, if there is any demand, I'll model a case for it for 3d printing, so if you are a DJ or just a hobbyist and you want the Keyduino contained in a plastic shell, let me know!
ICStation.com for an infinite supply of fun:


Pingback: Kevin Gulling12 Days of Arduino Day 9 - Robot Core / Coolant System - Kevin Gulling