

Hello everybody and welcome back to Day 2 of “12 Days of Arduino”! On the second day of Arduino Kevin gave to thee:
Arduino Piano/Keyboard
Remember this is not a tutorial, just a tech demo, if you are looking for tutorials check out @educ8s.tv on YouTube!
If you read the previous article (Arduino Morse Code Keyer) you can see that making a sound with the press of a button is simple as pi. It stands to reason that making a musical instrument out of the same components is not that difficult of a stretch. Thankfully Arduino’s Tone class used with an active buzzer makes this easy!
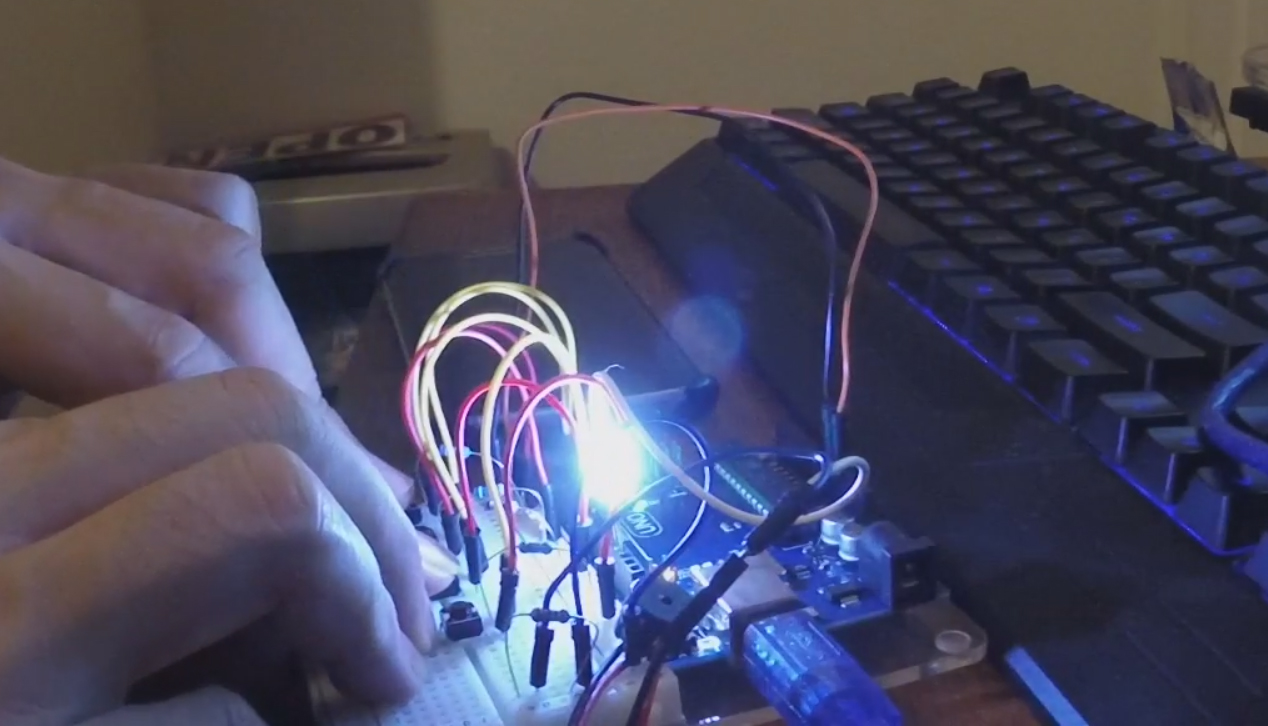
Project requires
–Arduino Uno
–Active buzzer
–4x button touch switch
-LED
-220 ohm resistor
-4x 10k ohm resistor
-jumper wires
The sketch:
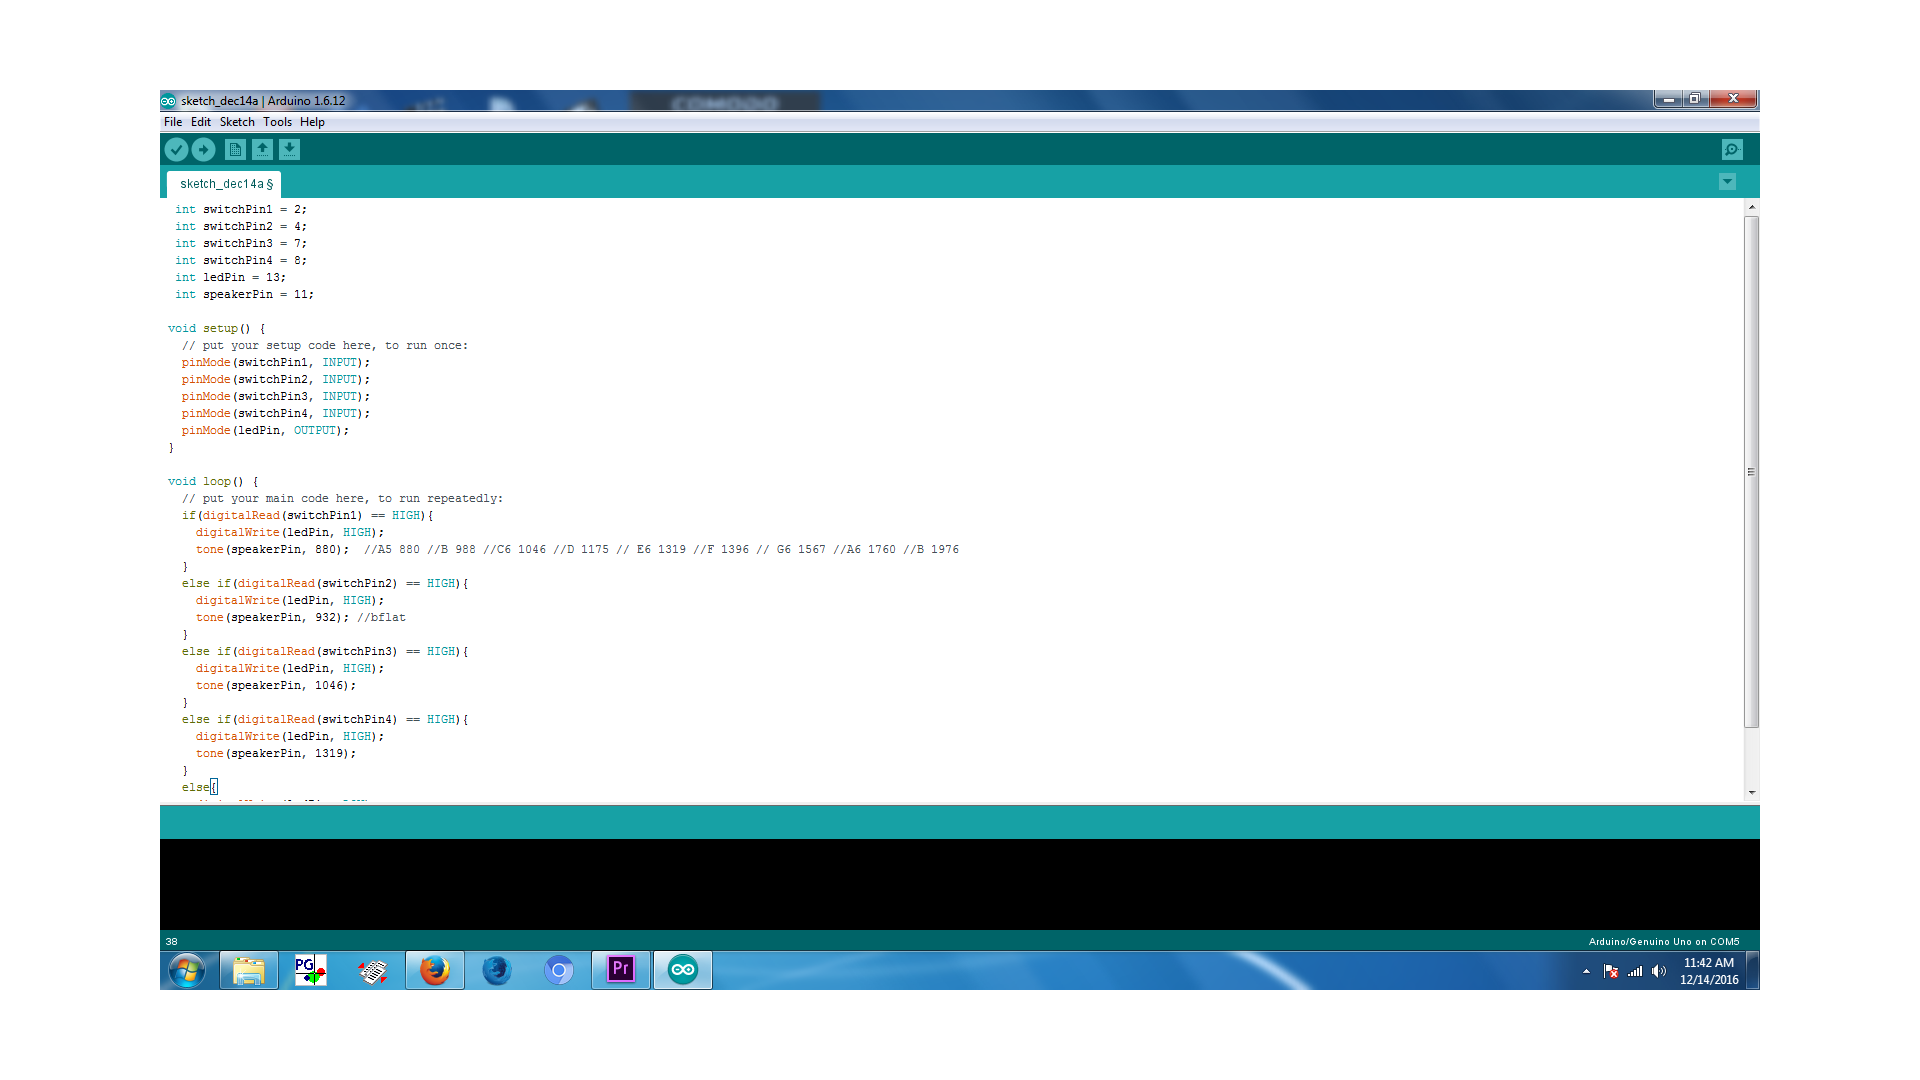
Piano / Keyboard Sketch
I’m going to leave the code in text format here rather than an image so it’s easier to copy and because the sketches are becoming too large to fit in a screenshot!
 int switchPin1 = 2;

 int switchPin2 = 4;

 int switchPin3 = 7;

 int switchPin4 = 8;

 int ledPin = 13;

 int speakerPin = 11;
void setup() {
// put your setup code here, to run once:
pinMode(switchPin1, INPUT);
pinMode(switchPin2, INPUT);
pinMode(switchPin3, INPUT);
pinMode(switchPin4, INPUT);
pinMode(ledPin, OUTPUT);
}
void loop() {
// put your main code here, to run repeatedly:
if(digitalRead(switchPin1) == HIGH){
digitalWrite(ledPin, HIGH);
tone(speakerPin, 880); //A5 880 //B 988 //C6 1046 //D 1175 // E6 1319 //F 1396 // G6 1567 //A6 1760 //B 1976
}
else if(digitalRead(switchPin2) == HIGH){
digitalWrite(ledPin, HIGH);
tone(speakerPin, 932); //bflat
}
else if(digitalRead(switchPin3) == HIGH){
digitalWrite(ledPin, HIGH);
tone(speakerPin, 1046);
}
else if(digitalRead(switchPin4) == HIGH){
digitalWrite(ledPin, HIGH);
tone(speakerPin, 1319);
}
else{
digitalWrite(ledPin, LOW);
noTone(speakerPin);
}
}
Because of the if/else setup here, you can “pull-off” to a lower note by pressing two buttons at once. You could reverse the order of the speaker frequency values if you wanted to accomplish a “hammer-on” instead.
The Tone class is a blast to play with. The Arduino itself can trigger frequencies from 31Hz to 65535Hz, way beyond the human audible frequency range. Maybe I’ll make a dog whistle next? 😉 You could essentially use a larger breadboard and a shift register to create a full size piano/keyboard.
Here is a great resource to find the frequencies for each note: http://www.phy.mtu.edu/~suits/notefreqs.html
If you have any ideas for improving the Arduino keyboard or want to share your own construction feel free to show us in the comments!
Please check out the sponsor of this series:


Pingback: Kevin GullingArduino Morse Code Keyer - Sketch - Uno R3 - Active Buzzer