Hi and welcome back to “12 Days of Arduino”, Day 3! On the third day of Arduino Kevin gave to thee:
Arduino Piano/Keyboard Pitch Shifter
Sort of like a whammy bar! Makes a fantastic 8 bit horror effect!
If you read from day 1 – (Arduino Morse Code Keyer) you can see the simple progression that lead to this point.
Project requires
–Arduino Uno
–Active buzzer
–4x button touch switch
-RGB LED
-220 ohm resistor
-4x 10k ohm resistor
-220 ohm resistor
-Jumper wires
-Ball switch
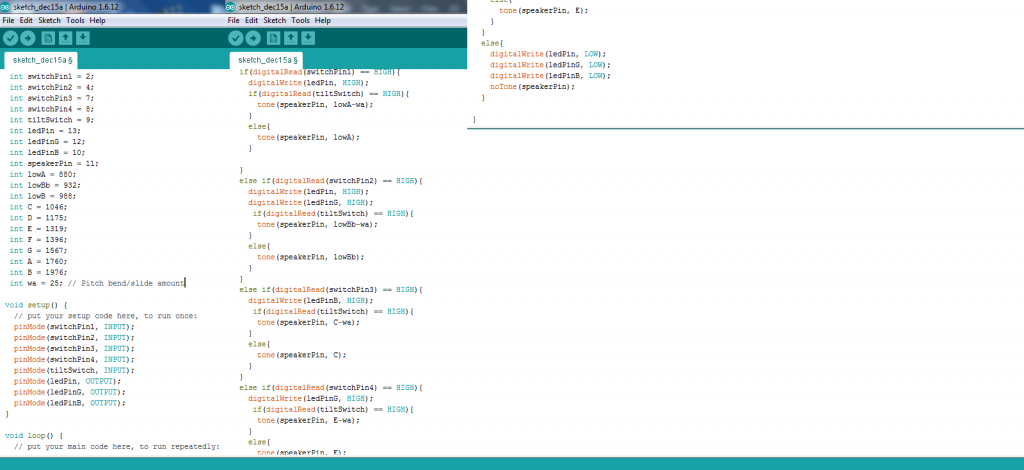
The sketch:
 int switchPin1 = 2;

 int switchPin2 = 4;

 int switchPin3 = 7;

 int switchPin4 = 8;

 int tiltSwitch = 9;

 int ledPin = 13;

 int ledPinG = 12;

 int ledPinB = 10;

 int speakerPin = 11;

 int lowA = 880;

 int lowBb = 932;

 int lowB = 988;

 int C = 1046;

 int D = 1175;

 int E = 1319;

 int F = 1396;

 int G = 1567;

 int A = 1760;

 int B = 1976;

 int wa = 25;
void setup() {
// put your setup code here, to run once:
pinMode(switchPin1, INPUT);
pinMode(switchPin2, INPUT);
pinMode(switchPin3, INPUT);
pinMode(switchPin4, INPUT);
pinMode(tiltSwitch, INPUT);
pinMode(ledPin, OUTPUT);
pinMode(ledPinG, OUTPUT);
pinMode(ledPinB, OUTPUT);
}
void loop() {
// put your main code here, to run repeatedly:
if(digitalRead(switchPin1) == HIGH){
digitalWrite(ledPin, HIGH);
if(digitalRead(tiltSwitch) == HIGH){
tone(speakerPin, lowA-wa);
}
else{
tone(speakerPin, lowA);
}
}
else if(digitalRead(switchPin2) == HIGH){
digitalWrite(ledPin, HIGH);
digitalWrite(ledPinG, HIGH);
if(digitalRead(tiltSwitch) == HIGH){
tone(speakerPin, lowBb-wa);
}
else{
tone(speakerPin, lowBb);
}
}
else if(digitalRead(switchPin3) == HIGH){
digitalWrite(ledPinB, HIGH);
if(digitalRead(tiltSwitch) == HIGH){
tone(speakerPin, C-wa);
}
else{
tone(speakerPin, C);
}
}
else if(digitalRead(switchPin4) == HIGH){
digitalWrite(ledPinG, HIGH);
if(digitalRead(tiltSwitch) == HIGH){
tone(speakerPin, E-wa);
}
else{
tone(speakerPin, E);
}
}
else{
digitalWrite(ledPin, LOW);
digitalWrite(ledPinG, LOW);
digitalWrite(ledPinB, LOW);
noTone(speakerPin);
}
}
I made some minor alterations along with the new additions.
A tilt switch is a simple component. A ball switch is a more specific type of tilt switch, similar to amercury switch only using a metal ball that rolls up and down the cylinder and connects to two contacts to open and close the circuit. Let’s see if I can ascii art an example 😉
╬ ╬
║0║
╚-╝
When upright, ball sits on bottom, contacts are open
╔-╗
║ ║
╬0╬
When tilted the metallic ball hits both of the contacts, closing the circuit
If that didn’t do it for you, you can find a datasheet here.
Please check out the sponsor of this series:


Pingback: Kevin Gulling12 Days of Arduino - Day 2 - Arduino Piano / Keyboard - Kevin Gulling